
Thinking about building a house instead of buying? Unsure of the steps? Property development can be a daunting task, making you question if it is really worth the risk.
John from Plumber Brisbane Southside says that breaking down the process makes it easy for clients to understand how it works. “By showing a step by step guide, it makes clients more at ease and helps them understand the process”, he says.
We have put together some tips to help you understand the whole process.
- Site preparation
This involves the clearing of the site and pegging of the site by the surveyor. Sometimes retaining walls will also be built at this stage if need be.
- Slab
The plumber will need to lay the plumbing that will be located beneath the slab of the development. This needs to be done before the slab can be formed up. The slab piercing is then completed as per the engineer’s specifications and plans and then the slab can be poured as directed.
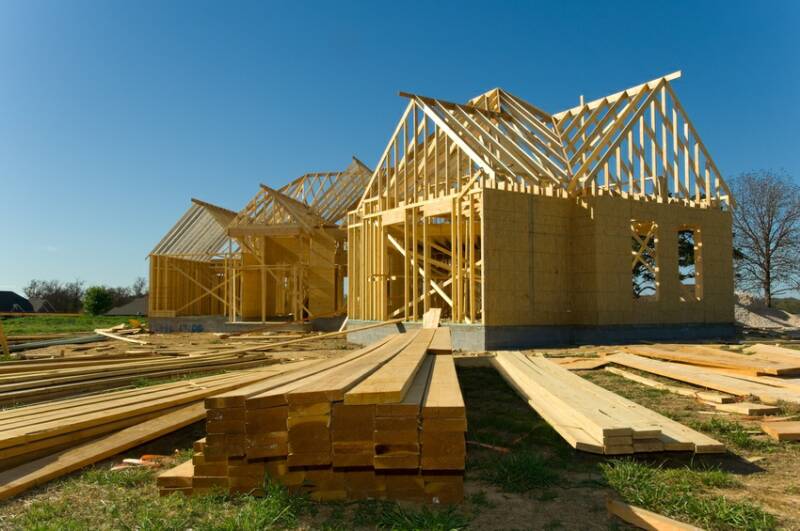
- Frames and Roof Trusses
The frames are usually prepared before being delivered to the site and can be erected quickly (day or so). When they are up it gives you a feel as to how each room will look.
- Roof Tiling
Some builders will complete the roof before starting the brickwork and others won’t. Most builders will want to get the roof on as quickly as possible to protect the frames.
- Brick Work
This stage makes everything really feel like it’s coming together. You can really see the development of making good progress when the brickwork is completed.
- Rough Ins
This involves the electrical and plumbing wiring and pipes to be installed before the internal linings to frames.
- Electrical Work
Internal wiring and electrical work are of course very important. As per Electrician Brisbane electrical website blog, it is vital to keep safety at first when setting up electrical work. after the rough-in is completed, the insulation will be installed into the wall and ceilings and then the plaster will start on lining the walls and on the ceilings. You will get a really good sense of space within the house at this stage once it is finished.
- Waterproofing and Tiling
The wet areas will be waterproofed in preparation for the tilers to start work, generally after or even during the timer mould out.
- Timber Mould Out
This stage involves the carpenters installing the skirting boards, architraves, doors, door jams and kitchens.
- Lock Up
This is when all external doors including garage doors are put on and checked.
- C. Fit Out
P.C. is a term for prime cost item and includes tapware, bath, mirror, vanities, and other accessories which are installed at this stage in the process.
- Practical Completion
This comes to the point in time when an inspection is conducted when the builder is almost finished. You will walk through the development with the site manager and point out any items that still need attention. By this time, it should only be minor touch-ups or minor items that need to be installed.
- Handover
This is when you are happy the construction has been completed to your satisfaction and the keys are handed over to you.
LifeFAQ
Latest posts by LifeFAQ (see all)
- How to Get Out of Depression - July 1, 2022
- Top 3 Tips for A Smooth Move in Wet Weather - April 16, 2021
- How to Repair relationship after partner cheats - September 9, 2020